Any craft item made by the exhibitor with a bee or beekeeping theme.
| Entrant ID: | 1039690 | Entrant Name: | Jesse Line |
| Description: | SCALE MODEL OF A HONEY BEE DISPLAYED ON A FRAME OF DRAWN COMB No scale was considered and the model was made by eye – to give an indication of size the frame it sits on is 340mm x 250mm. Honey bee images were viewed online to establish the characteristics, shapes and proportions of the subject. Materials used in construction were: • Head, thorax and abdomen – mahogany hardwood • Legs – galvanised garden wire clad in black PVC tubing • Pollen on legs – chenille yarn from my fly tying materials box • Wings – galvanised garden wire profile, covered with cling film, creased and crumpled to make them wing like. Wood carving tools and a wood turning lathe were used to make the main bee body, its three parts joined by dowels. Details on the head, thorax and abdomen were burnt onto the wood as ‘poker work style’ using a hot soldering iron bit. The model was coloured with wood stains and finished with lacquer and polish. The finished model is my first effort at a representation of a recognisable Honey Bee at home. |
||
| Entry: | 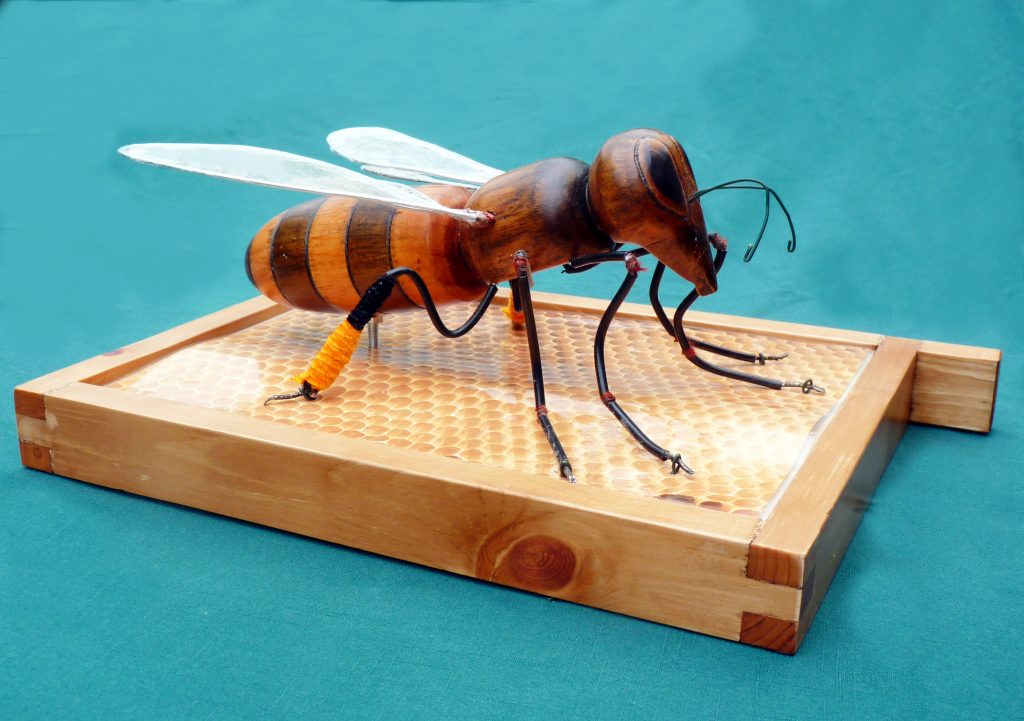 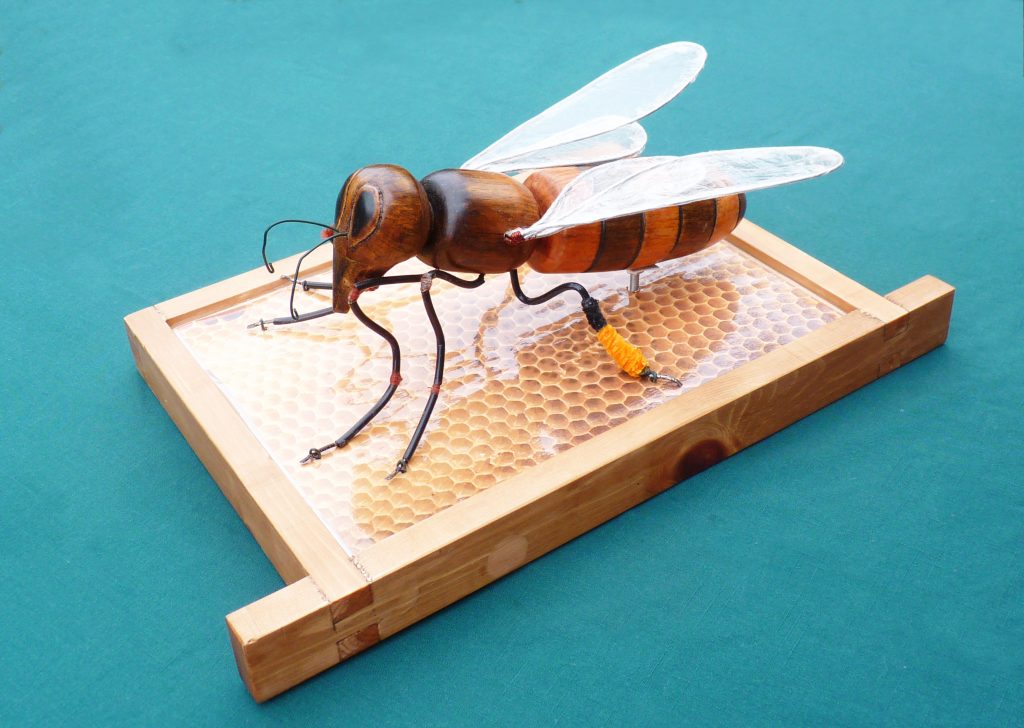 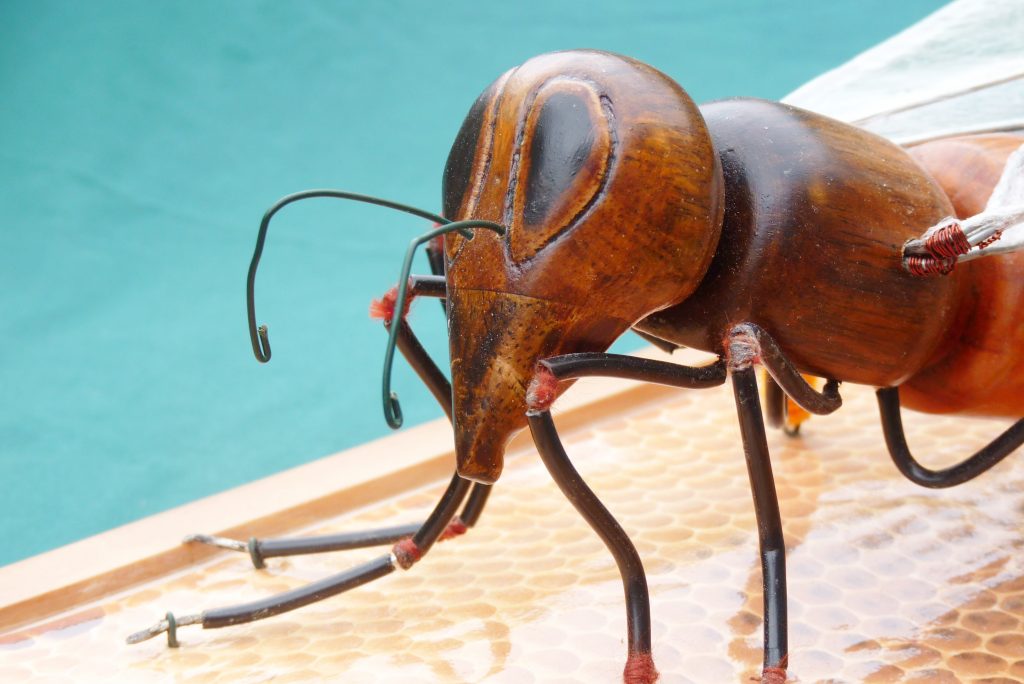 |
||
| Result: |  |
||
| Entrant ID: | 1042966 | Entrant Name: | Stella MacDougall |
| Description: | This tea cosy is knitted in double knitting, double thickness for the body of the tea cosy. The smoke from the smoker was achieved by pulling a little of the stuffing from the tip with a fine crochet hook. |
||
| Entry: | 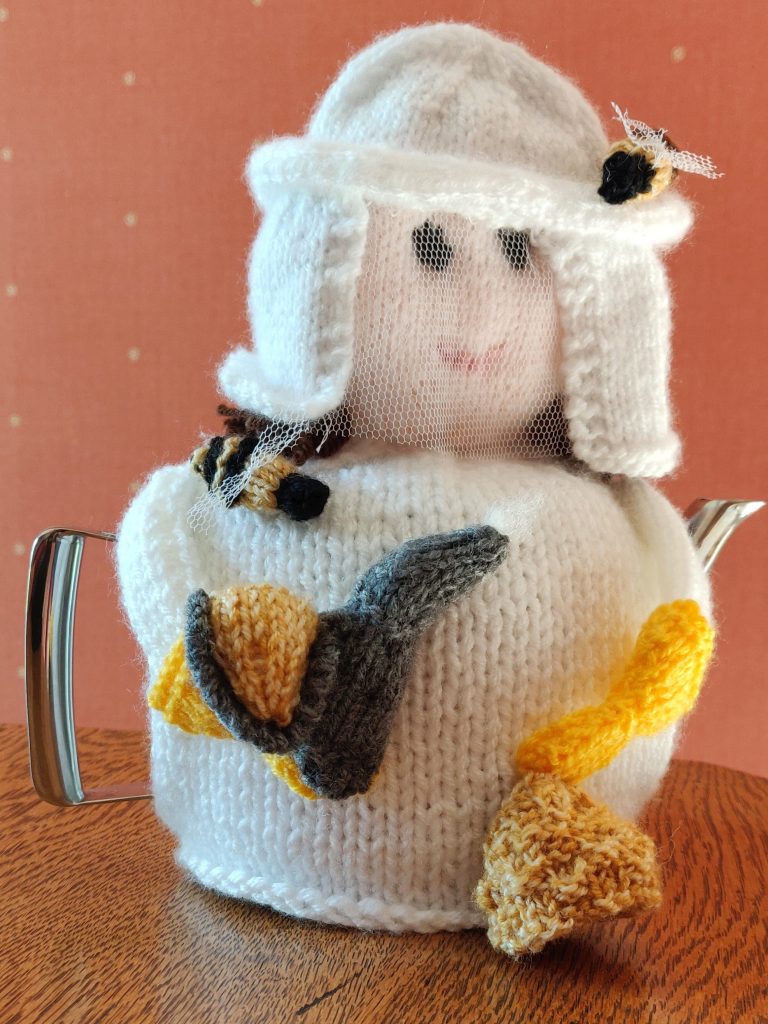   |
||
| Result: |  |
||
| Entrant ID: | 1045047 | Entrant Name: | Andrew Eelbeck |
| Description: | |||
| Entry: |   |
||
| Result: | – | ||
| Entrant ID: | 1044445 | Entrant Name: | Colin Hall |
| Description: | The casing of the solar wax extractor has been made from Recticel polystyrene sheets for improved insulation and more effective melting, according to my own design. They are held together with bamboo sticks and glue, and edged with aluminium tape. The window consists of a bought double-glazed unit that I enclosed with a wooden frame. I had the metal innards made for me – in a earlier wooden version of the extractor that I made.
The only problem now is that in a spring or summer such as we have just had – often very sunny and hot – the wax can overheat if left too long. The polystyrene is a bit soft and can be damaged but also it is easily repaired. |
||
| Entry: | 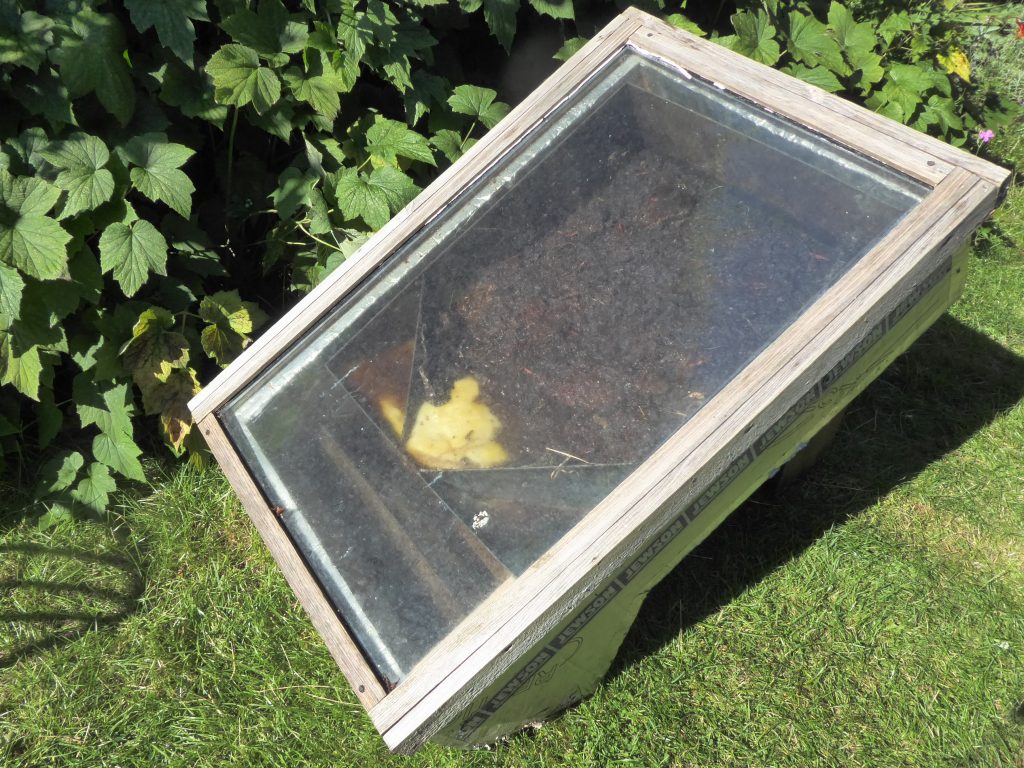 |
||
| Result: | – | ||
| Entrant ID: | 1039251 | Entrant Name: | Ruth Bullock |
| Description: | |||
| Entry: |  |
||
| Result: | – | ||
| Entrant ID: | 1043584 | Entrant Name: | Jenny Higham |
| Description: | |||
| Entry: |   |
||
| Result: | – | ||
| Entrant ID: | 1042567 | Entrant Name: | Gill Brewer |
| Description: | Advent Candle The candle was made by the pouring technique. A 40cm length of wick was dipped once in molten beeswax and pulled straight as the wax solidified. This was then held vertically over a bowl, spun between thumb and forefinger while molten wax was poured over it from the top. As one layer of wax set, another layer was poured over the candle. After three layers the candle was rolled on a flat surface to ensure it was straight and left to cool. This process of pouring three layers, rolling and cooling was repeated numerous times until the candle reached the required thickness. The bottom of the candle was trimmed with a craft knife to fit securely in the candle holder. The decorations were hand drawn using a permanent marker pen. Children of all ages will enjoy burning the candle and counting the days until Christmas! |
||
| Entry: | 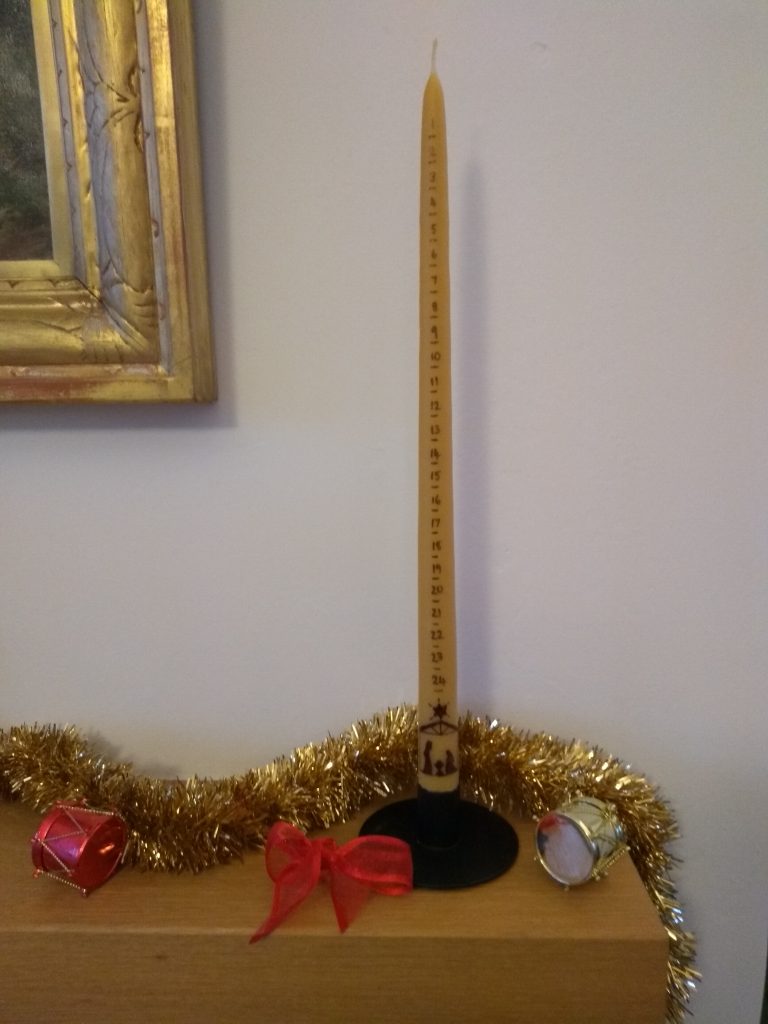 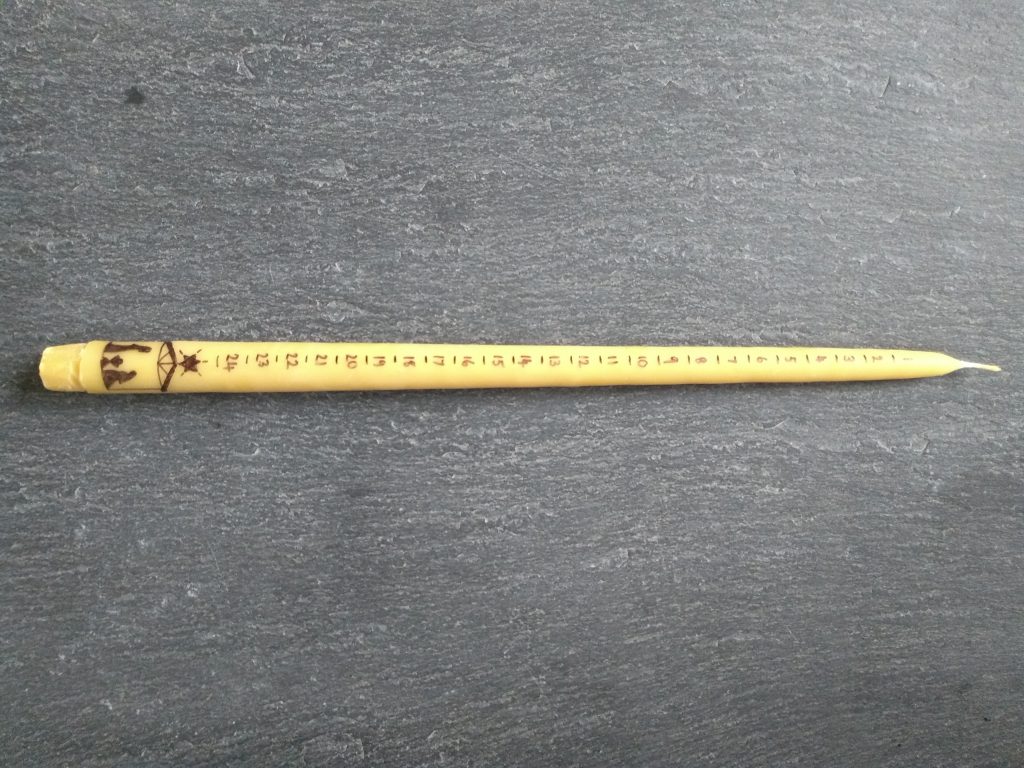 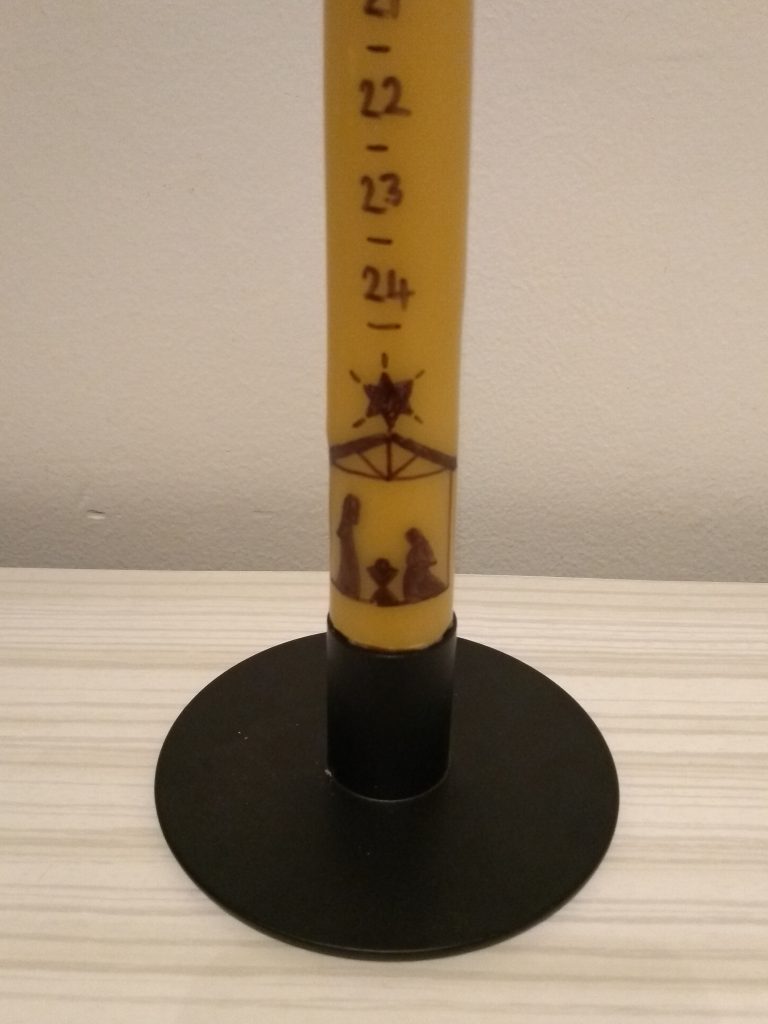 |
||
| Result: |  |
||
| Entrant ID: | 1045105 | Entrant Name: | Beverley Underwood |
| Description: |
WE TRY TO MAKE OUR STALL COLOURFUL & INTERESTING, SO IN READINESS FOR WHEN LIFE GETS BACK TO NORMAL, I’VE SEWN SOME ‘BUSY BEE BUNTING’ & MATCHING TABLE CLOTHES. WE WILL ALSO USE THESE NEXT YEAR WHEN WE PLAN TO HAVE A GARDEN PARTY & BBQ’S AT HOME. HOW THE BUNTING WAS CREATED: YOU WILL NEED: FABRIC, BIAS BINDING, COTTON THREAD & CARDBOARD
THE TABLE CLOTHES WERE VERY SIMPLE – JUST CUT TO SIZE &HEM ROUND THE RAW EDGES |
||
| Entry: | 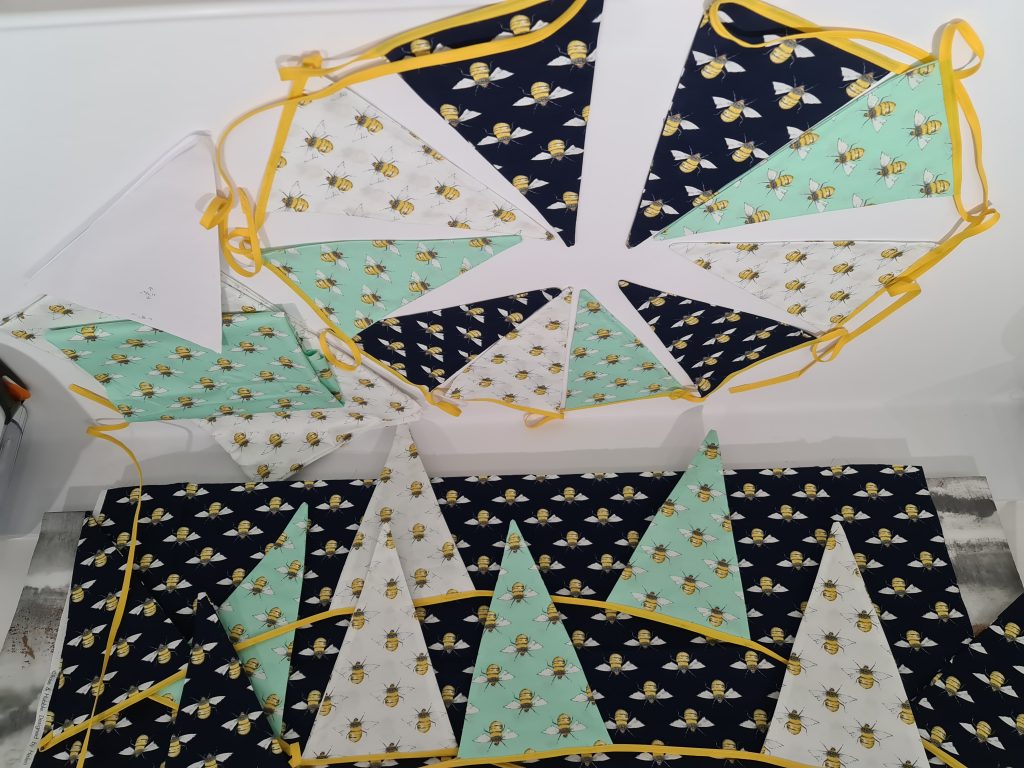 |
||
| Result: | – | ||